Baked Malaysian Spiral Curry Puffs Recipe
The secret to Malaysian spiral curry puffs is in the pastry: for that pastry, you'll need two different kinds of dough.
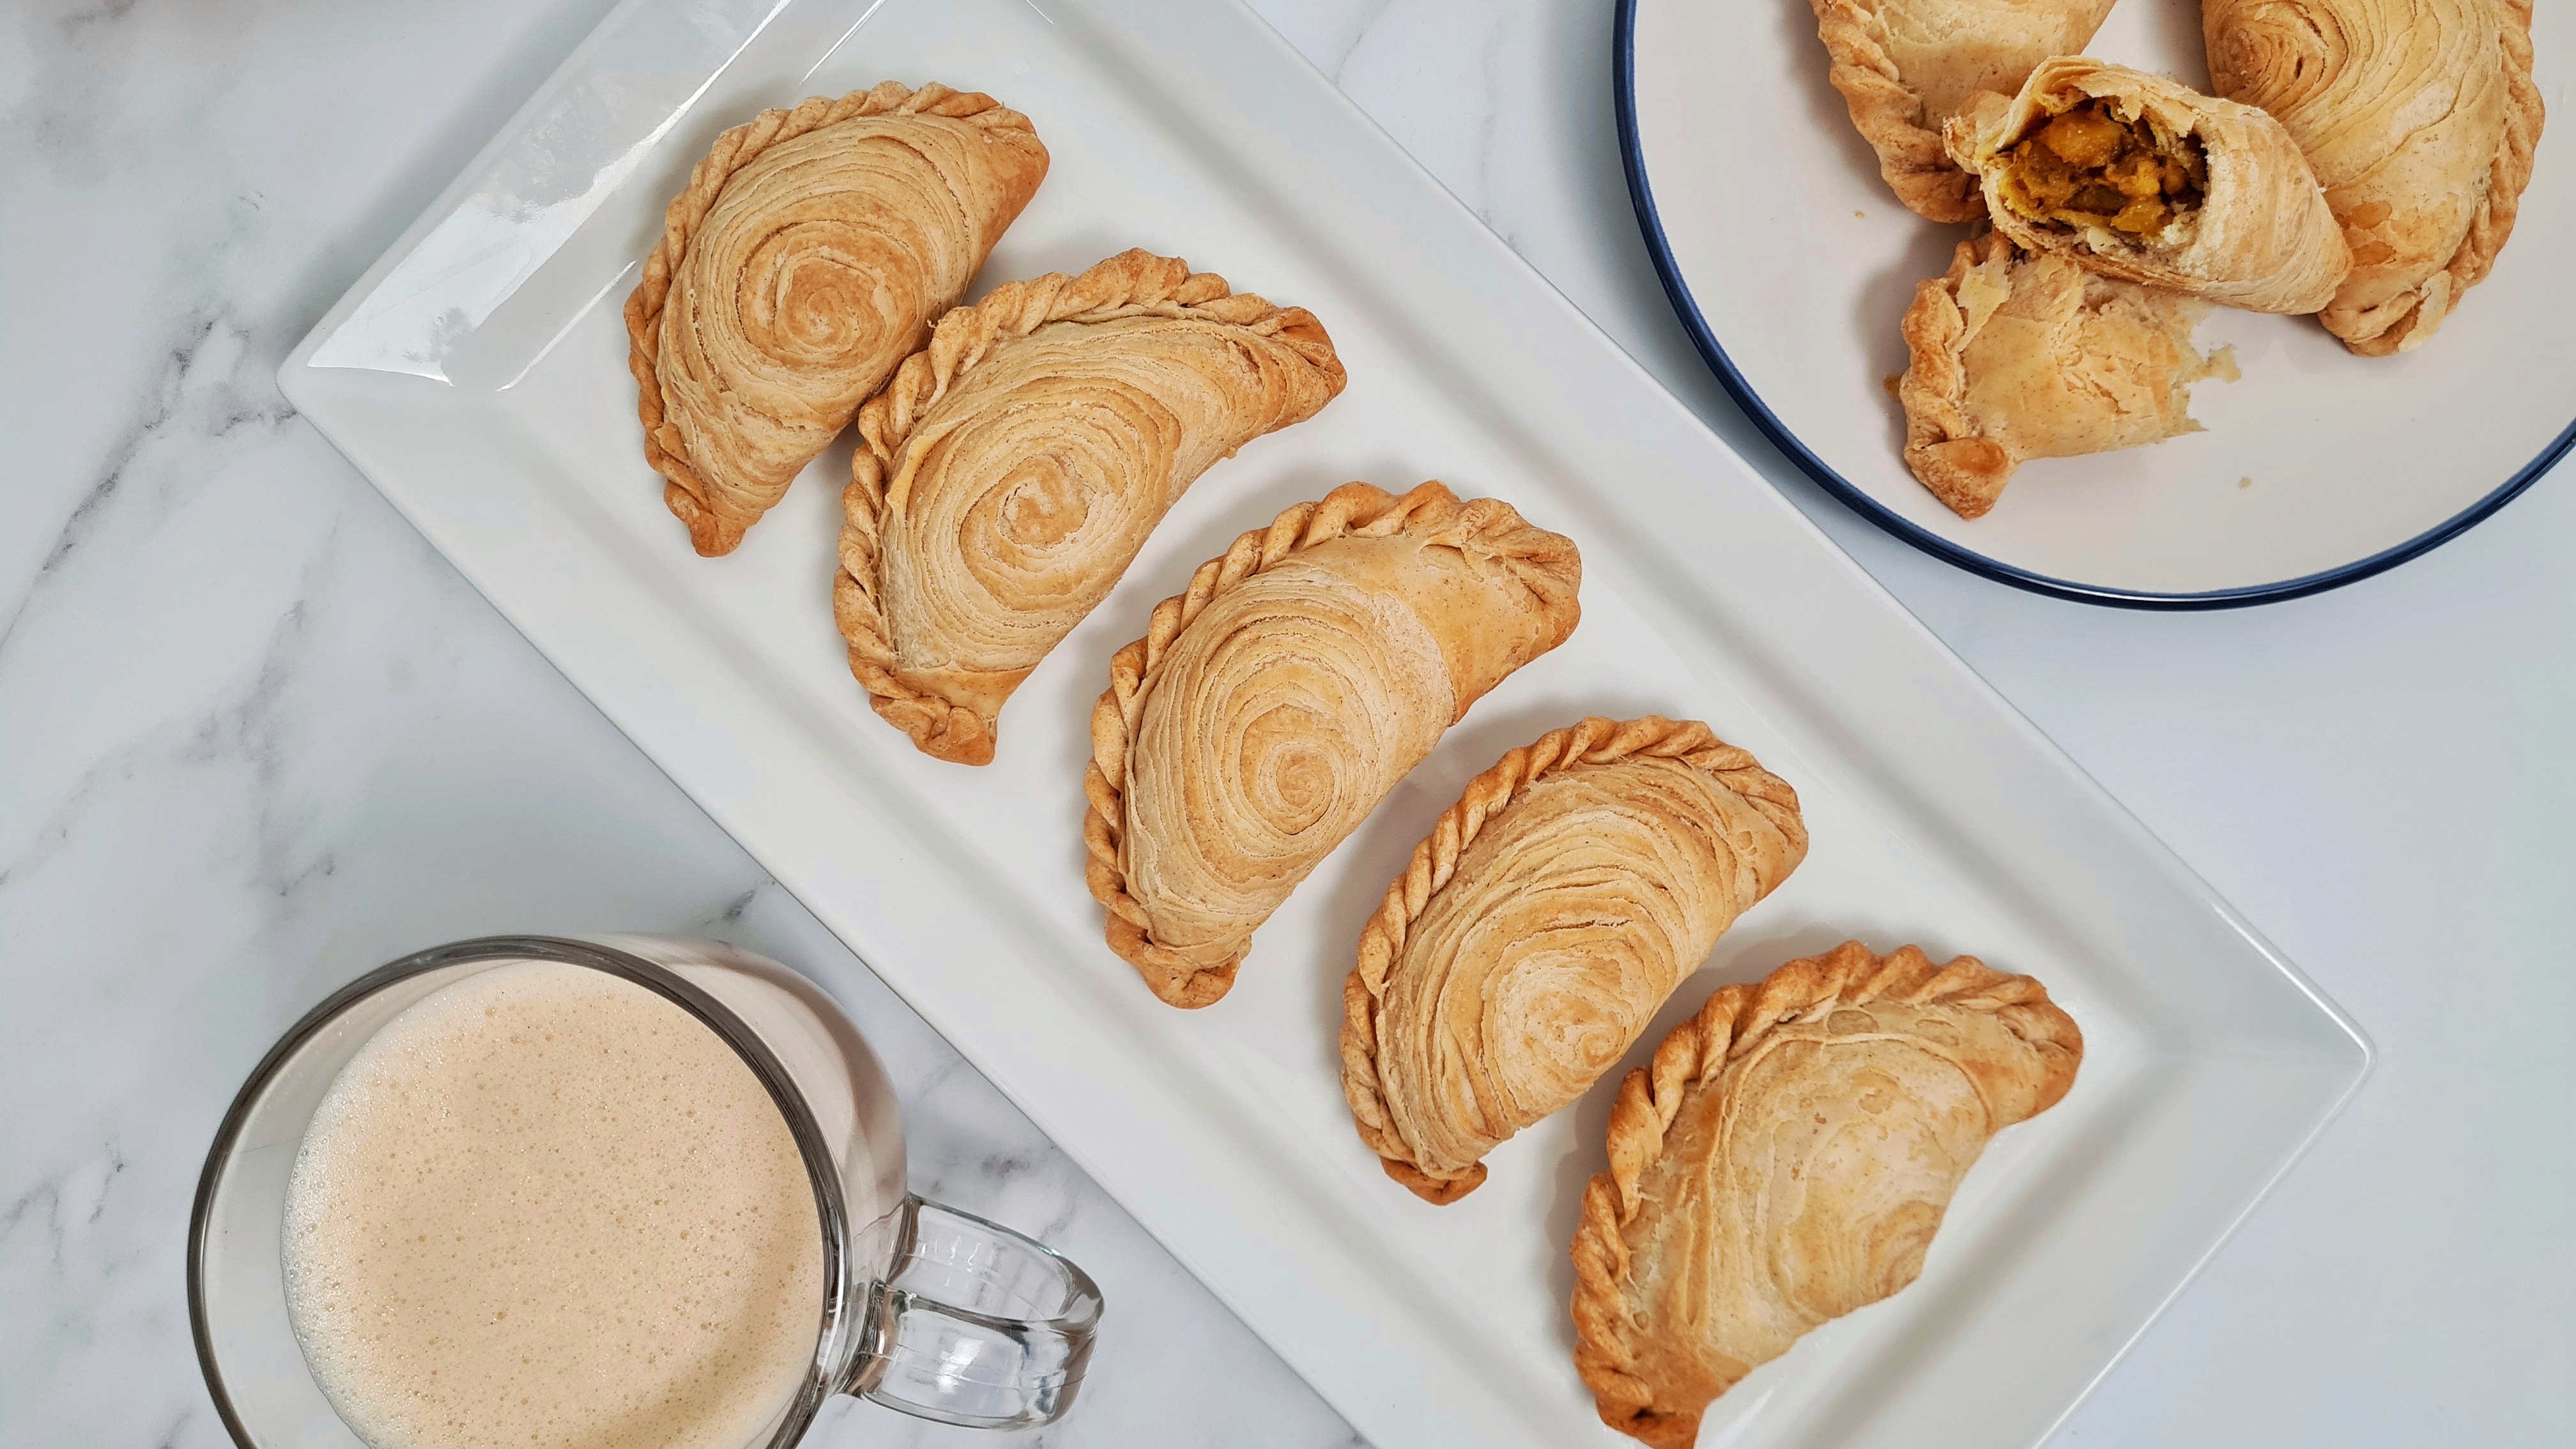

Similar to the Teochew taro mooncakes I've made previously, Malaysian spiral curry puffs are made with two different kinds of dough swirled together to create defined, delicately flaky layers. The filling can be any kind of dry-ish curry you like, but it's most often a simple chicken or vegetable curry.
For this recipe, you'll probably have a little leftover curry, depending on how generously you fill your curry puffs. Be careful not to overfill them though or they could burst open when cooking.
Although this is a recipe for baked Malaysian spiral curry puffs, you can also deep fry them instead of popping them in the oven once you're done assembling them. Deep frying them is more traditional and you'll get a more even golden colour than baking, plus they'll stay crisper for longer if you plan on cooking them then storing them for a couple of days. But of course, baking is a bit lighter, and you'll still get a crisp finish – you'll just need to enjoy them faster. And if you can't finish all of your curry puffs in one go, you can freeze them before baking and cook them another time.
You can also watch me make this on my YouTube channel:
Ready? Let's go.
(Makes 18 curry puffs.)
Ingredients for Chicken Curry Filling:
Vegetable oil for cooking
350g potatoes, chopped into small cubes (I used new potatoes)
1 onion, finely chopped
350g chicken breast, chopped into small chunks
2cm cube ginger, peeled and minced
3 large gloves garlic, peeled and finely minced
2 tbsp curry powder (I used mild Malaysian curry powder)
1 tsp chilli powder
1 tsp caster sugar
75ml chicken stock or water
3 tbsp coconut cream
3 large gloves garlic, peeled and finely minced
2 tbsp curry powder (I used mild Malaysian curry powder)
1 tsp chilli powder
1 tsp caster sugar
75ml chicken stock or water
3 tbsp coconut cream
Pinch of salt
Ingredients for Oil Dough:
200g plain flour
60g cold unsalted butter
60g vegetable shortening
Ingredients for Water Dough:
300g plain flour
60g cold unsalted butter
Pinch of salt
60g cold unsalted butter
Pinch of salt
145ml water
Method:
1. First make the chicken curry filling. Heat a few tablespoonfuls of oil in a wok, and fry the onions together with the garlic and ginger until the onion is translucent and a little soft.
2. Add the chicken and fry until the chicken is starting to brown a little, then stir in the potatoes, curry powder, chilli powder, sugar, chicken stock, coconut cream and salt. Cover and simmer on a low to medium heat for 20 minutes (give it a stir every so often so the bottom doesn't stick). Remove from the heat and leave to cool completely.
3. To make the oil dough, simply bring the three ingredients together in a bowl with your hands until you have a soft, squishy dough. Divide it into eight portions and roll into balls.
4. To make the water dough, rub the flour, butter and salt together with your fingers in another bowl until you have a breadcrumb-like mixture. Stir in the water and bring everything together to form a dough, then divide and roll into eight balls.
5. Preheat the oven to 180°C.
6. Flatten out a ball of water dough to make a disc (making the edges a little thinner), pop an oil dough ball in the middle, and close up the water dough around it like a dumpling. Do this to the rest of your water and oil dough balls so you have eight stuffed dough balls in total.
7. Roll out (flatten) one of your stuffed balls until it's a thin long oval, and roll it up so you have a cigar/sausage shape. Place the dough sausage so that it points away from you, and flatten into a long flat shape with a rolling pin. Roll it up towards you again so you have a shorter, fatter sausage, and cut it in half lengthways so you have two fat discs.
8. Take one disc and flatten it into a larger, thinner disc, place it cut-side-down and place a spoonful of curry filling in the middle. Fold up the disc of dough into a semicircle shape and pinch the edges of the dough firmly shut.
9. Repeat with the rest of your dough so you have 16 pastries in total. Freeze the pastries if you don't want to eat them just yet, or pop them on a lined baking tray and bake for about 20 minutes until lightly golden.
10. Leave to cool a little before eating.
Enjoy, and have fun.
Comments
Post a Comment